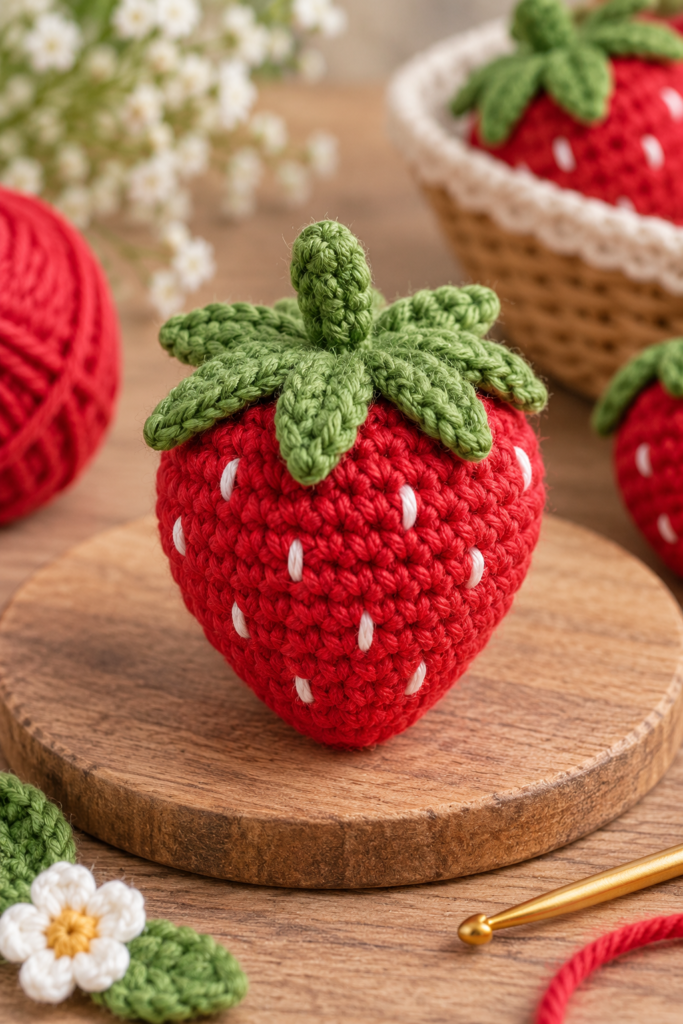
A mini crochet strawberry is a quick and adorable project that can be used as a keychain, bag charm, decoration, or small handmade gift. It requires only a little yarn, making it perfect for using leftover scraps.
What You’ll Need
- Red yarn
- Green yarn
- Crochet hook
- Small amount of stuffing
- Yarn needle
- Scissors
- Optional: keychain ring
How to Crochet a Mini Strawberry
Step 1: Start the Strawberry
Begin with a magic ring using red yarn. Work single crochet stitches into the ring and continue crocheting in rounds.
Increase gradually to create the wider upper part of the strawberry.
Step 2: Shape the Body
Continue working single crochet rounds while gradually reducing the stitches toward the bottom.
This will create the pointed shape of the strawberry.
Step 3: Add the Stuffing
Before the opening becomes too small, add a small amount of stuffing. Push the filling gently into the strawberry so it keeps its shape.
Continue decreasing until the strawberry is completely closed.
Step 4: Make the Green Top
Switch to green yarn and crochet a small leafy top using chains and single crochet stitches.
Shape several small leaves around the center to create the strawberry crown.
Step 5: Finish the Details
Sew the green top onto the strawberry securely. For extra detail, you can embroider tiny white or yellow seeds onto the red body.
If you want to turn it into a keychain, attach a small keychain ring to the top.
Creative Ideas
Make several mini strawberries in different sizes and use them as bag charms, decorations, or cute accessories. You can also combine them with other mini crochet fruits to create a colorful handmade collection.
This project is quick, beginner-friendly, and a great introduction to amigurumi crochet.