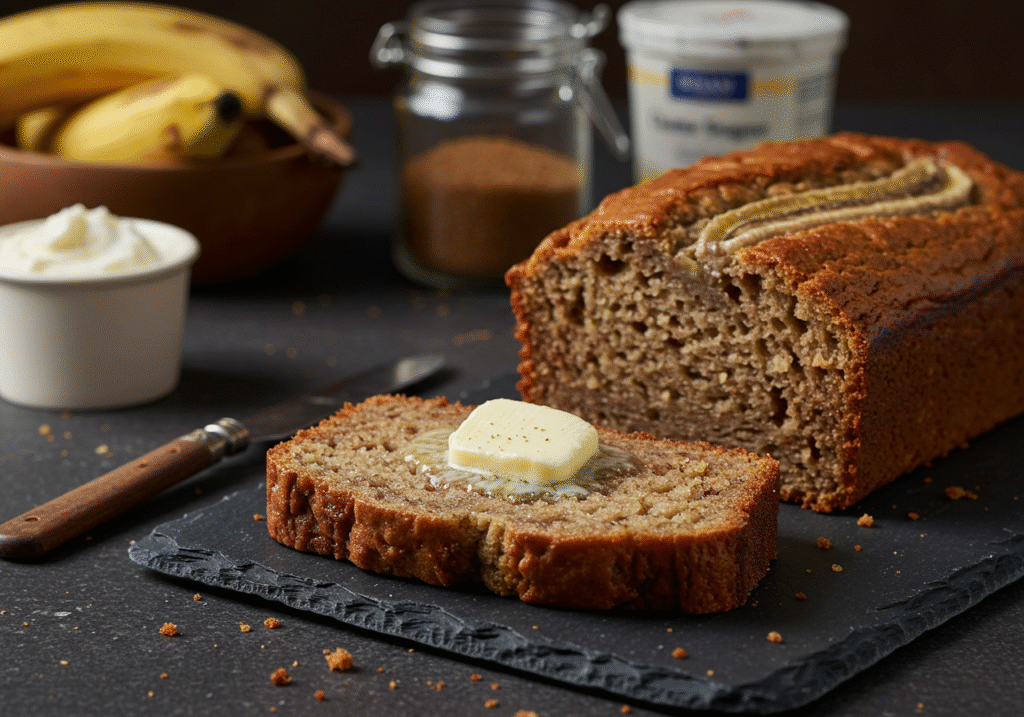
Is your homemade banana bread consistently upstaged by the lofty, moist crumb of bakery versions? The discrepancy often boils down to a single, overlooked scientific principle: starch retrogradation. This process, where baked goods lose moisture and become stale, is accelerated by common recipe missteps. Achieving a perpetually perfect banana bread recipe hinges on manipulating ingredients to slow this down. This guide moves beyond basic instructions, delving into the culinary science that guarantees a flawlessly tender and moist loaf every time. We’re deploying seven evidence-based strategies to revolutionize your approach to this classic banana bread recipe.
Table of Contents
Curating Your Ingredients for Culinary Success
Selecting the right components is the first critical step. Each element serves a distinct purpose in the structural and sensory profile of your final product.
- Fermentation-Ripe Bananas (3 large, approx. 1 ⅔ cups mashed): The foundation. We need bananas with completely black peels. This indicates peak sugar conversion and pectin breakdown, which directly translates to superior sweetness, moisture, and binding capability. *Pro Tip: Accelerate the process by baking unpeeled bananas on a parchment-lined sheet at 300°F (150°C) for 30-40 minutes until the skins blacken and they become syrupy. Cool completely before using.*
- Cake Flour (2 cups, 240g, sifted): Our secret for a delicate crumb. The lower protein content in cake flour (compared to all-purpose) minimizes gluten formation, which is the primary culprit behind a tough, chewy texture. For a reliable measure, always use a scale.
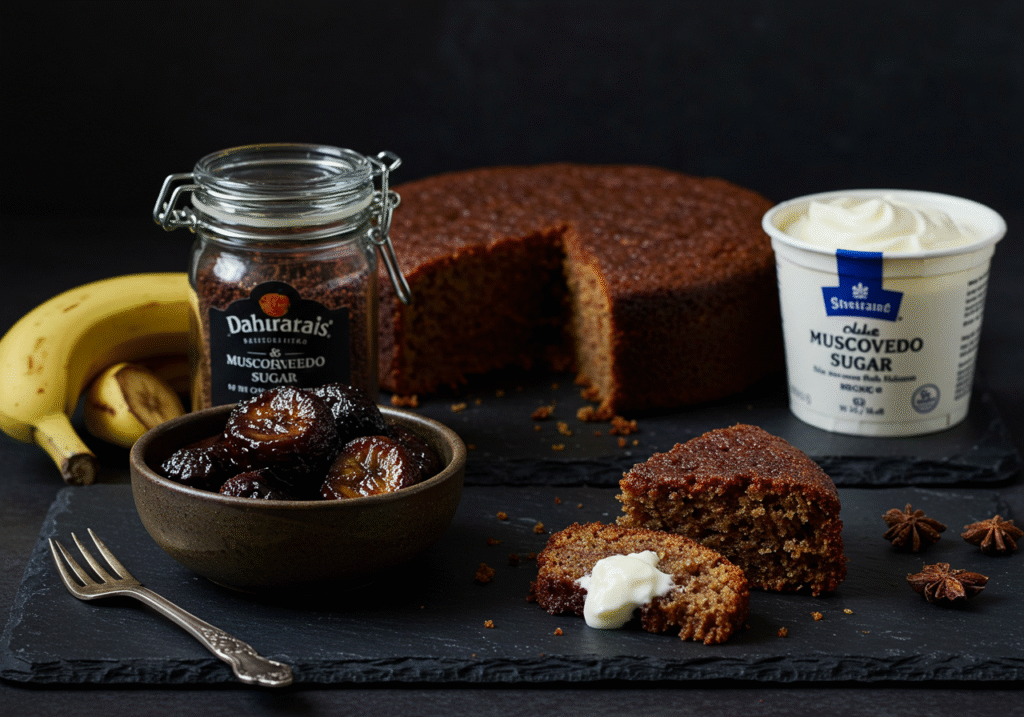
- Dark Muscovado Sugar (¾ cup, firmly packed): This unrefined sugar contributes a complex, toffee-like flavor and its inherent acidity perfectly activates the baking soda. Its higher moisture content also helps keep the loaf soft.
- Brown Butter (½ cup, cooled): Browning the butter adds a deep, nutty dimension that complements the bananas beautifully. It’s a simple upgrade with a profound impact on flavor complexity.
- Crème Fraîche (⅓ cup): A premium choice over sour cream, crème fraîche offers a subtler tang and richer fat content, contributing to an exceptionally velvety texture and extended freshness.
- Large Eggs (2, brought to room temperature): Essential for emulsification. Room-temperature eggs incorporate more air, leading to a better rise and a more uniform batter.
- Clear Vanilla Extract (1 tsp): Used to maintain a golden crumb color, as pure vanilla extract can darken the batter.
- Baking Soda (1 tsp): The workhorse leavening agent that reacts with the acidic bananas and sugar to create lift.
- Fine Sea Salt (¾ tsp): Enhances all flavors and balances the sweetness without the sharpness of iodized salt.
- Candied Ginger (½ cup, finely chopped) + Raw Pepitas (¼ cup): An unconventional but stunning pairing. The ginger provides a warm, spicy kick, while the pepitas add a delightful crunch and visual appeal.
Mapping Your Baking Timeline
A clear understanding of the time commitment ensures a stress-free and successful baking experience.
- Active Preparation: 25 minutes. This includes browning the butter, preparing the pan, and mixing the batter with care.
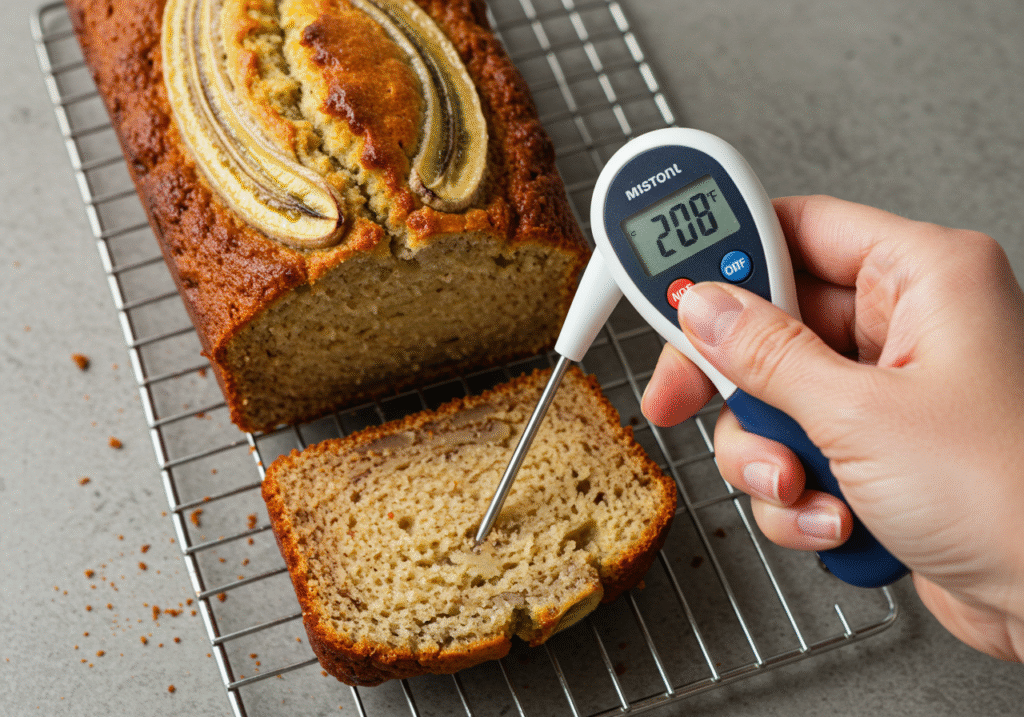
- Baking Duration: 62-68 minutes. Precision is key. We recommend using an oven thermometer to verify the actual temperature and an instant-read thermometer to check the bread’s internal temperature for perfect doneness.
- Total Project Time: Approximately 95 minutes. The additional focus on technique and precision during the prep phase is what sets this recipe apart and delivers a professional-grade result.
Architectural Steps for a Perfect Loaf
Phase 1: Foundation and Preparation
Position an oven rack in the lower third of your oven and preheat to 325°F (163°C). A slightly lower temperature promotes even baking without excessive doming. Prepare a 9×5-inch metal loaf pan by buttering it thoroughly and lining it with a single sheet of parchment paper that covers the bottom and long sides, creating a sling for effortless removal.
Phase 2: Developing the Flavor Base
In a light-colored saucepan, melt the butter over medium heat. Continue cooking, swirling the pan occasionally, until the milk solids turn a deep golden brown and emit a nutty aroma. Immediately pour into a heatproof bowl to stop the cooking, ensuring you scrape all the browned bits in. Let it cool slightly.
Phase 3: Constructing the Wet Matrix
In a large mixing bowl, combine the slightly cooled brown butter and dark Muscovado sugar. Whisk vigorously for 90 seconds to aerate and begin dissolving the sugar. Incorporate the room-temperature eggs one at a time, ensuring each is fully emulsified before adding the next. Whisk in the crème fraîche and clear vanilla until the mixture is smooth and homogenous. Gently fold in the mashed roasted bananas until just incorporated.
Phase 4: Formulating the Dry Framework
In a separate bowl, sift the cake flour and then whisk it together with the baking soda and fine sea salt. Sifting is non-negotiable here to ensure a supremely light and lump-free dry mix. CRITICAL TECHNIQUE #1: SIFT YOUR FLOUR.
Phase 5: The Strategic Integration
Create a well in the center of the dry ingredients. Pour the wet mixture into the well. Using a silicone spatula, use a “J-fold” motion—cutting down through the center and sweeping along the bottom of the bowl—to combine. CRITICAL TECHNIQUE #2: FOLD WITH INTENTION, NOT FORCE. Mix until no dry pockets remain, then cease immediately. Overworking the batter at this stage will develop gluten and compromise the texture. Gently fold in the candied ginger and pepitas.
Phase 6: The Precision Bake
Transfer the batter to the prepared pan and smooth the top. For a professional finish, sprinkle with raw turbinado sugar. Bake for 62-68 minutes. The loaf is done when the top is a rich golden brown, the edges just begin to pull away from the pan, and most importantly, an instant-read thermometer inserted into the geometric center registers exactly 208°F (98°C).
Phase 7: The Structural Set
Remove the loaf from the oven and place the pan on a wire cooling rack. Let it rest for exactly 20 minutes. This allows the structure to set enough for handling. Then, using the parchment sling, lift the bread out and place it directly on the wire rack. CRITICAL TECHNIQUE #3: ALLOW FOR COMPLETE COOLING. Wait until the loaf is completely cool to room temperature (approx. 2 hours) before slicing. This prevents gumminess and ensures perfect, clean slices.
Nutritional Composition (Per Serving, based on 14 slices)
| Nutrient | Amount | Daily Value % |
|---|---|---|
| Calories | 274 | 14% |
| Total Fat | 12g | 15% |
| Saturated Fat | 7g | 35% |
| Cholesterol | 58mg | 19% |
| Sodium | 241mg | 10% |
| Total Carbs | 38g | 14% |
| Dietary Fiber | 1.5g | 5% |
| Sugars | 20g | |
| Protein | 4.5g | 9% |
Calculated values are estimates. For exact nutritional information, consider using a specific calculator with your exact brands.
Gourmet Variations for Dietary Preferences
Tailor this blueprint to meet any dietary need without sacrificing quality:
- Dairy-Adapted: Replace brown butter with an equal amount of refined coconut oil (melted and cooled) and substitute the crème fraîche with plain, unsweetened coconut yogurt.
- Egg-Modified: For a rich, binding alternative, use aquafaba. Use 3 tablespoons of aquafaba (the liquid from a can of chickpeas), whipped to soft peaks, for each egg.
- Nut-Free Assurance: The pepitas (a seed) and ginger combination is naturally nut-free, making this a safe and delicious option for those with allergies.
- Spice-Infused: Add a pinch of cardamom or a quarter teaspoon of freshly grated nutmeg to the dry ingredients for an aromatic twist.
Artful Serving and Presentation
Elevate your banana bread from a simple snack to a gourmet experience:
- Deconstructed Dessert: Crumble a slice into a glass, layer with mascarpone cheese whipped with a touch of maple syrup, and top with a drizzle of salted caramel sauce.
- Breakfast Bruschetta: Toast thick slices and top with a smear of almond butter, sliced fresh figs, and a sprinkle of flaky sea salt.
- Bread Pudding Base: Use slightly stale slices to create an decadent banana bread pudding with a bourbon-infused custard. check out our best cake recipes.
5 Technical Missteps to Eliminate
- Inaccurate Oven Temperature: An oven that runs hot will cause the exterior to burn before the interior is set. An inexpensive oven thermometer is your most valuable baking tool.
- Measuring Flour by Volume: Scooping a measuring cup into a flour bag can pack in up to 20% more flour, leading to a dry, dense loaf. Use a scale for 100% accuracy.
- Using Cold Ingredients: Cold eggs and dairy won’t emulsify properly with the butter, resulting in a curdled, broken batter that bakes unevenly.
- Ignoring Internal Temperature: Visual cues can be misleading. The 208°F internal temperature is the only guaranteed indicator that the starches have fully gelatinized and the loaf is done.
- Neglecting the Pan: Glass or ceramic pans require a lower oven temperature (reduce by 25°F) and longer baking times. A light-colored metal pan is ideal for even heat distribution.
Preservation Techniques for Optimal Freshness
To maintain the impeccable texture you’ve worked so hard to achieve:
- Short-Term Storage: Once fully cooled, wrap the loaf tightly in two layers of plastic wrap. It will remain at peak freshness for up to 3 days at cool room temperature.
- Long-Term Storage: For keeping beyond three days, freeze it. Wrap the whole loaf or individual slices in plastic wrap, then place in a heavy-duty freezer bag, removing as much air as possible. Freeze for up to 4 months. Thaw, still wrapped, at room temperature.
The Final Analysis
Mastering this banana bread recipe is an exercise in precision and understanding the underlying science. From the transformative power of roasted bananas and brown butter to the critical importance of flour selection, mixing technique, and thermal validation, each step is designed to engineer a superior loaf. This blueprint provides the tools to consistently produce a banana bread that is not just good, but extraordinary.
I challenge you to test these methods. Have you experimented with brown butter or crème fraîche in your baking before? Share your unique variations and results in the comments below. For those who appreciate the science of baking.
In-Depth FAQs
Q: Why did you specify cake flour? Can I use all-purpose flour as a substitute?
A: Cake flour’s lower protein content (around 8%) is specifically chosen to limit gluten development, which is the goal for a tender, delicate crumb like this. If you must substitute, use 2 cups minus 2 tablespoons of all-purpose flour and add 2 tablespoons of cornstarch. Whisk this mixture well before using. The result will be closer, though not identical, to using cake flour.
Q: What is the scientific reason for waiting until the loaf is completely cool to slice?
A: During baking, the starches gelatinize and absorb liquid. As the loaf cools, these starches retrograde, or recrystallize, which sets the structure. Slicing while hot interrupts this process, releasing steam and causing the starches to form a gummy, sticky texture instead of a firm, clean crumb.
Q: My baked goods often stick, even with greasing. How does the parchment sling help?
A: The parchment sling eliminates all points of contact between the delicate crust and the metal pan. Buttering the pan underneath the parchment provides an extra layer of insurance. This method guarantees a flawless release every time, preserving the beautiful crust you worked to create.
Q: Can I use previously frozen bananas for this recipe?
A: Yes, and they are excellent. Thaw frozen bananas completely in a strainer set over a bowl. Use the mashed banana pulp as directed. You can also incorporate the intensely sweet liquid that drains off (banana “nectar”) into the wet ingredients for an even more potent banana flavor, reducing another liquid slightly if needed.