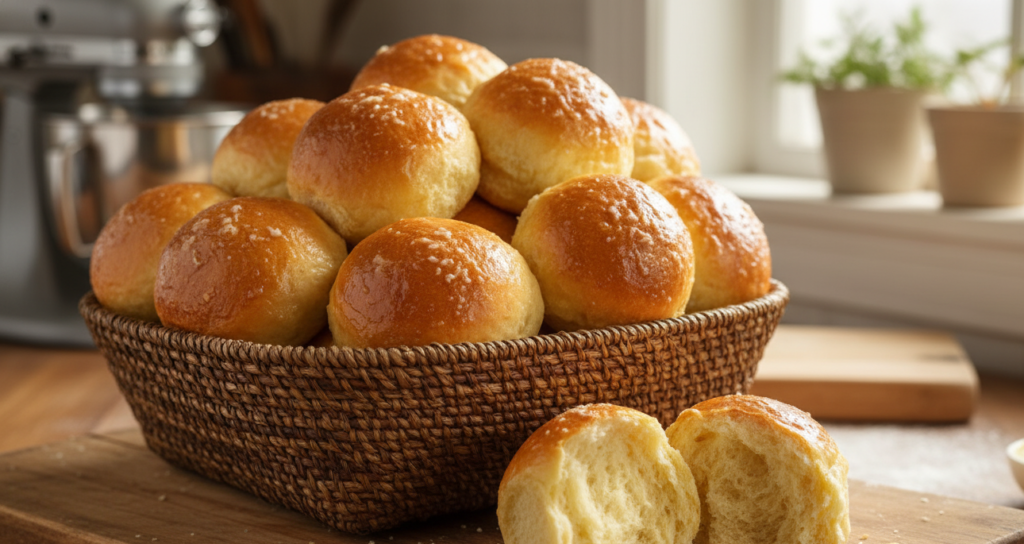
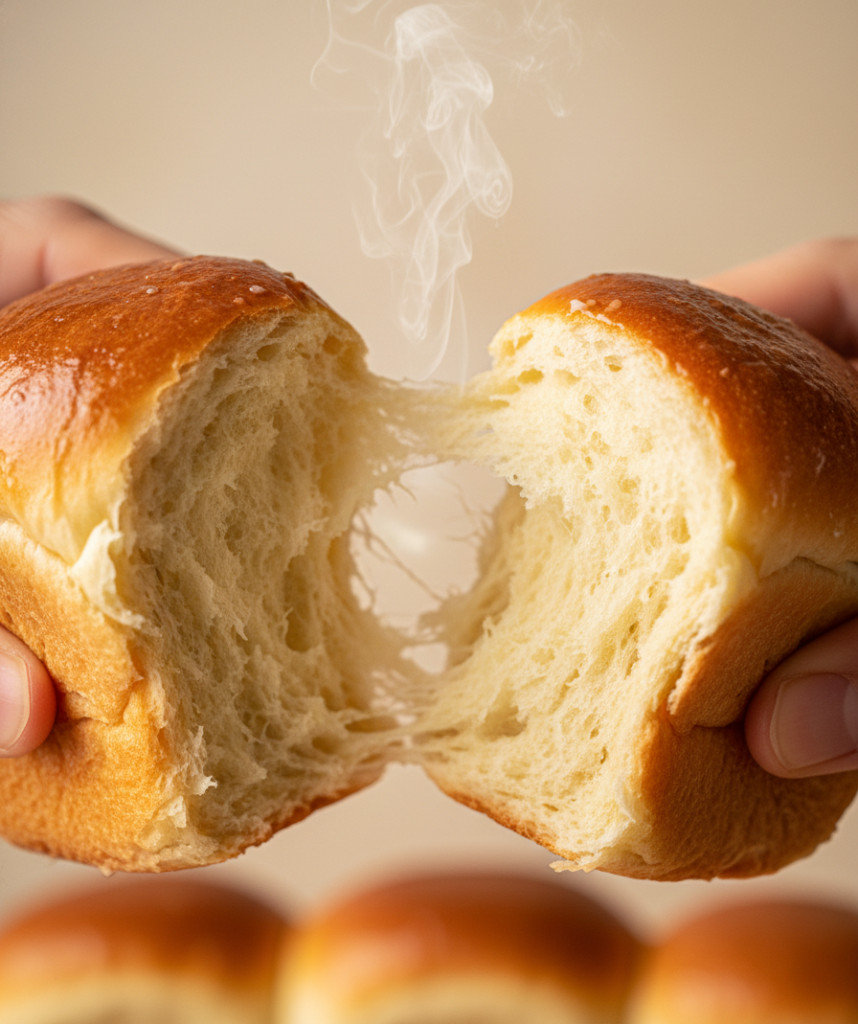
There’s a certain magic that happens when you pull a pan of homemade Hawaiian Sweet Rolls from the oven. That first waft of steam carries the most incredible aroma—a warm, sweet, buttery scent that immediately feels like a hug. It’s the smell of celebration, of family dinners, and of pure, uncomplicated joy. You know the ones: the impossibly soft, slightly sweet, golden-brown pillows of bread that seem to disappear from the basket the moment they hit the table.
For years, I thought this magic was only found in those iconic orange bags from the store. But then I discovered a secret: making them from scratch is not only possible, it’s surprisingly simple and infinitely more rewarding. If you’ve ever been intimidated by yeast breads, let this be your gateway recipe. This guide will walk you through every step, demystifying the process so you can fill your own kitchen with that unforgettable aroma and taste. Let’s unlock the sweet, soft secrets of perfect homemade Hawaiian rolls.
Table of Contents
What Makes Hawaiian Sweet Rolls So Special?
Before we dive into baking, it’s worth understanding what sets these rolls apart. They’re not your average dinner roll. Their signature profile comes from a few key characteristics:
- A Touch of Sweetness: Unlike savory breads, Hawaiian Sweet Rolls get their distinct flavor from sugar and, traditionally, pineapple juice. This isn’t a cloying sweetness, but a gentle, round flavor that complements the butter and yeast.
- Unbelievable Tenderness: The goal is a soft, pillowy crumb that practically melts in your mouth. This is achieved through specific ingredients and techniques that we’ll master together.
- A Golden, Buttery Shine: Each roll is brushed with a glossy butter glaze after baking, giving it that signature sheen and an extra layer of rich flavor.
A Quick Dip into History (It’s Not What You Think!)
Despite the name, Hawaiian Sweet Rolls aren’t an ancient Hawaiian tradition. Their origin story is a beautiful example of cultural fusion. Portuguese immigrants brought their pão doce (sweet bread) to Hawaii in the late 19th century. Local bakeries, like the famous King’s Hawaiian, adapted the recipe, likely incorporating the tropical pineapple that was so abundant. The result was a new, beloved bread that took on the islands’ name. It’s a delicious testament to how food evolves and brings people together.
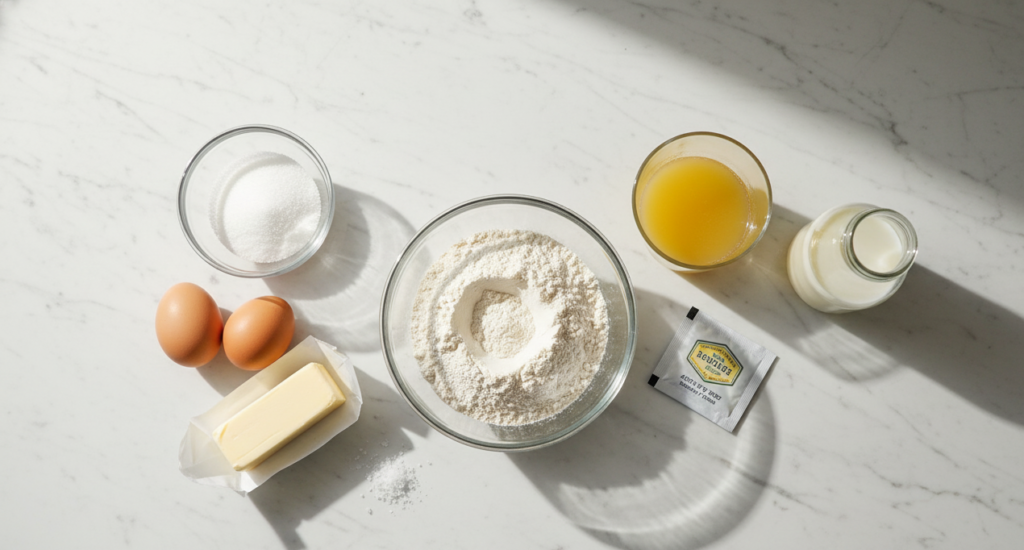
The Key Ingredients & Why They Matter
Great baking starts with understanding your ingredients. Here’s what you’ll need and the role each one plays:
- Bread Flour: I strongly recommend bread flour over all-purpose for these rolls. Why? It has a higher protein content (usually 12-14%), which creates more gluten. More gluten means a stronger, more elastic dough that can trap air bubbles, giving you a taller, fluffier roll with that perfect pull-apart texture.
- Pineapple Juice: This is the star flavor agent. The natural sugars caramelize during baking, contributing to the soft texture, golden color, and that subtle, complex sweetness you can’t quite place. Don’t worry—your rolls won’t taste like pineapple! Use unsweetened pineapple juice for best results.
- Milk & Butter: These are the keys to richness and tenderness. The fat in both ingredients coats the flour proteins, resulting in a softer crumb and a longer-lasting freshness.
- The Tangzhong (Secret Weapon!): This is a game-changer for any soft bread. Tangzhong is a simple cooked paste of flour and liquid (milk or water) that gets mixed into the dough. According to baking science experts like King Arthur Baking, this method gelatinizes the starches in the flour, allowing the dough to absorb and retain more moisture. The result? Rolls that stay incredibly soft and moist for days. It’s a simple extra step with a massive payoff.
Your Foolproof Recipe for Homemade Hawaiian Sweet Rolls
Ready to bake? This recipe breaks down the process into manageable, beginner-friendly steps. Set aside about 3.5 hours, but know that most of that is inactive rising time.
Prep Time: 30 mins | Rise Time: 2 hours | Bake Time: 20 mins | Total Time: 3 hrs | Yields: 12 soft rolls
Equipment You’ll Need:
- Stand mixer with dough hook (or a large bowl and sturdy wooden spoon)
- Small saucepan
- Whisk
- Instant-read thermometer (very helpful!)
- 9×13 inch baking pan
- Pastry brush
Ingredients:
For the Tangzhong:
- 3 tablespoons (25g) bread flour
- 1/2 cup (120ml) whole milk
For the Dough:
- 1/2 cup (120ml) unsweetened pineapple juice, warmed to about 110°F
- 1/4 cup (60ml) whole milk, warmed to about 110°F
- 2 1/4 teaspoons (7g/1 packet) instant yeast
- 1/4 cup (50g) granulated sugar
- 1 large egg, at room temperature
- 3 cups (360g) bread flour, plus extra for dusting
- 1 teaspoon salt
- 4 tablespoons (57g) unsalted butter, softened to room temperature
For the Topping:
- 1 tablespoon melted butter
- 1 tablespoon honey (optional, for extra shine)
Step-by-Step Instructions:
Step 1: Make the Tangzhong.
In your small saucepan, whisk the 3 tablespoons of flour and 1/2 cup milk until smooth. Place it over medium-low heat and cook, stirring constantly with a silicone spatula, until the mixture thickens into a paste and lines form as you stir (about 3-5 minutes). Transfer it to a small bowl, press plastic wrap directly onto its surface to prevent a skin from forming, and let it cool to lukewarm.
Step 2: Activate the Yeast.
In the bowl of your stand mixer, combine the warmed pineapple juice, warmed milk, yeast, and sugar. Give it a quick stir and let it sit for 5-10 minutes. You should see a frothy, bubbly layer form on top—this is called “proofing” and means your yeast is alive and ready to work!
Step 3: Build the Dough.
Add the cooled tangzhong and the egg to the yeast mixture. Using the dough hook attachment, mix on low speed until combined. Add the 3 cups of bread flour and salt. Mix on low until a shaggy dough forms. With the mixer running on medium-low, begin adding the softened butter, one tablespoon at a time, letting each piece incorporate fully before adding the next. This takes patience but ensures a smooth dough.
Step 4: Knead to Perfection.
Once all the butter is in, increase the speed to medium and knead for 6-8 minutes. The dough is ready when it pulls away cleanly from the sides of the bowl, is smooth and elastic, and passes the “windowpane test”: gently stretch a small piece of dough between your fingers. If you can stretch it thin enough to see light through it without it tearing immediately, you’re done!
Step 5: The First Rise (Bulk Fermentation).
Shape the dough into a ball, place it in a lightly greased bowl, and turn it to coat. Cover the bowl with a damp kitchen towel or plastic wrap. Let it rise in a warm, draft-free spot until doubled in size, about 1 to 1.5 hours. (Tip: An oven with the light on is a perfect, cozy spot.)
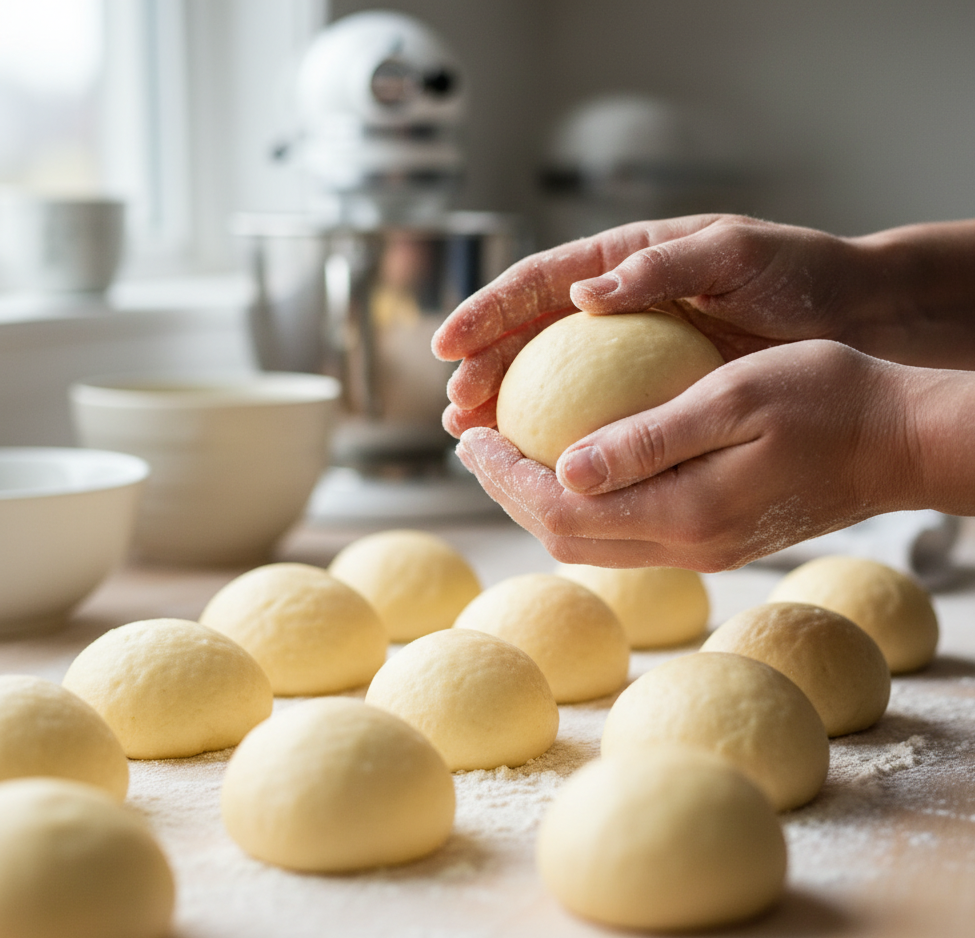
Step 6: Shape the Rolls.
Punch down the risen dough to release air bubbles. Turn it out onto a lightly floured surface. Divide it into 12 equal pieces (a kitchen scale helps for perfect uniformity, but eyeballing is fine!). To shape each roll: cup your hand over a piece of dough and roll it in a tight circular motion on the counter until it forms a smooth, taut ball. Place the shaped rolls into your greased 9×13 pan, arranging them in 3 rows of 4.
Step 7: The Second Rise (Proofing).
Cover the pan again and let the rolls rise until they are puffy and touching each other, about 45 minutes to 1 hour. Towards the end of this rise, preheat your oven to 350°F (175°C).
Step 8: Bake!
Bake the rolls for 18-22 minutes, or until the tops are a deep golden brown. An instant-read thermometer inserted into the center of a roll should read at least 190°F.
Step 9: The Glorious Finish.
As soon as the pan comes out of the oven, mix the melted butter and honey (if using). Brush this glaze generously over the hot rolls. This final step gives them that beautiful shine and extra flavor. Let them cool in the pan for 10 minutes before devouring.
Hawaiian Sweet Rolls: Your FAQs Answered
Q1: Can I use all-purpose flour instead of bread flour?
You can, but the results will differ. Bread flour produces a taller, chewier roll with more structure. All-purpose flour will yield a slightly softer, more cake-like crumb. For the classic texture, bread flour is the better choice.
Q2: I don’t have pineapple juice. What can I use?
The pineapple juice is a signature flavor, but in a pinch, you can replace it with an equal amount of whole milk or water plus an extra tablespoon of sugar. The flavor profile will be more of a classic sweet milk bread, but still delicious.
Q3: How do I store homemade sweet rolls to keep them soft?
Always let them cool completely first. Store them in an airtight container or a resealable plastic bag at room temperature for 2-3 days. For longer storage, freeze them in a freezer bag for up to 3 months. Thaw at room temperature or gently rewarm in the oven.
Q4: Can I make the dough ahead of time?
Absolutely! After the first rise, you can punch down the dough, place it in a greased container, and refrigerate it for up to 24 hours. When ready, let it sit at room temp for 30 minutes, then shape, proof, and bake as directed. This slow, cold fermentation can actually develop more flavor.
Q5: Why did my rolls turn out dense?
This usually points to one of three issues: 1) The yeast was old or killed by liquid that was too hot (over 130°F). 2) The dough didn’t rise long enough. 3) The dough was over-floured during shaping. Be patient with the rises and trust the process!
The Final Rise
Baking your own Hawaiian Sweet Rolls is about so much more than the final product. It’s about the quiet ritual of kneading, the anticipation of the rise, and the profound satisfaction of creating something wonderful from simple ingredients. These rolls have a way of turning an ordinary Tuesday into something special and making a holiday feast feel complete.
So, tie on your apron, dust your counter with flour, and give it a try. That first warm, buttery, impossibly soft bite you pull from your own oven will be a moment you won’t forget. You’re not just baking bread; you’re baking happiness.
I’d love to hear about your baking adventure! Did you add a personal twist? How did your family react? Share your stories, photos, or questions in the comments below. And if you found this guide helpful, please pass it on to a fellow beginner baker—let’s spread the joy of homemade bread, one soft, sweet roll at a time.