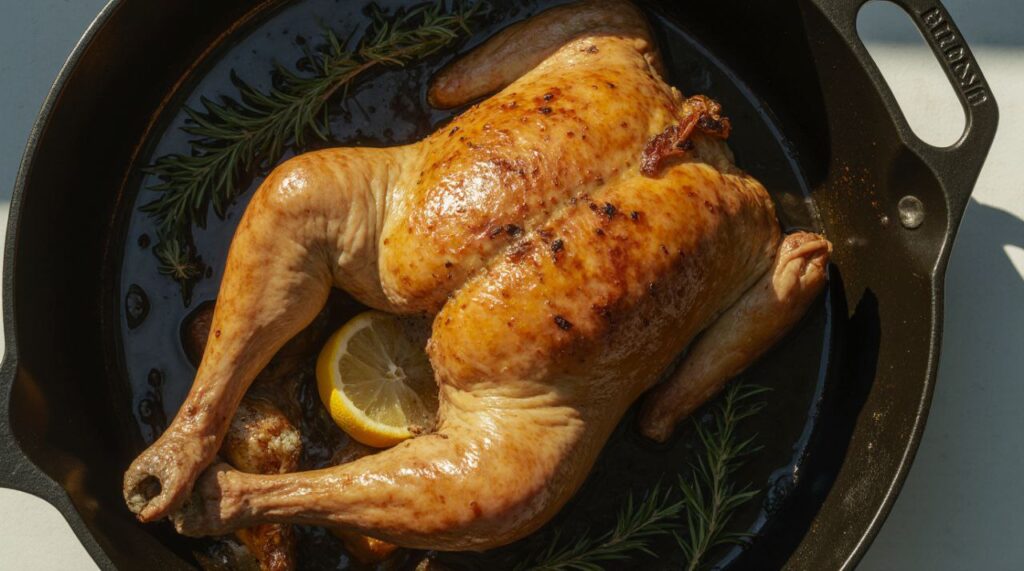
Let’s be honest. We’ve all been seduced by a photograph. A glossy, bronze roast chicken, perched majestically in a pan, promising a dinner of profound simplicity and elegance. Yet, too often, the reality is a pale, flabby-skinned bird with dry breast meat, a culinary anticlimax that leaves you wondering why you didn’t just order pizza.
I had one such catastrophe that nearly broke me. It was for a date I was desperately trying to impress. The chicken emerged not as a golden-brown trophy, but as a sad, steam-baked creature with the texture of overworked yarn. The only thing impressed that night was the silence at the dinner table.
That failure, however, sent me down a rabbit hole. I read culinary science texts, pestered butchers, and roasted more chickens than I can count. What I discovered wasn’t one secret, but a symphony of small, manageable steps. This method—the one I’m sharing with you today—is my ultimate, no-fail roast chicken recipe. It relies not on magic, but on understanding the why behind every step.
Table of Contents
Why a Humble Chicken is the Ultimate Litmus Test
A perfectly executed roast chicken is more than a meal; it’s a barometer of kitchen confidence. The renowned chef and food science writer, J. Kenji López-Alt, often states that the test of a great cook is a simple roast chicken. It’s a dish with nowhere to hide, where technique triumphs over complicated ingredients.
What a great roast chicken teaches you:
- The physics of heat: How different temperatures affect skin, fat, and muscle.
- The power of preparation: Why what you do before the oven matters more than what you do during.
- Patience and timing: The critical, often-skipped steps of drying and resting.
- Resourcefulness: How one chicken can fuel multiple meals, from the initial feast to a rich, homemade stock.
The Unspoken Truth: Your Biggest Enemy is Water
The single most important step for achieving that covetable, crackling skin has nothing to do with the oven. It’s about moisture management. According to the principles of food science outlined by resources like Harold McGee’s “On Food and Cooking,” water is the enemy of browning.
The Maillard reaction—the complex chemical process that gives roasted foods their beautiful color and deep flavor—cannot occur efficiently in a wet environment. The energy from the heat is used to evaporate water instead of browning the proteins and sugars. This is why patting the skin dry is non-negotiable. We’re going to take it a revolutionary step further.
The Overnight Revelation: Your Secret Weapon for Crispy Skin
Here is the first game-changing technique that sets this recipe apart: the uncovered refrigerator rest.
The Night Before (or Morning Of):
- Unwrap your chicken and remove any giblets from the cavity.
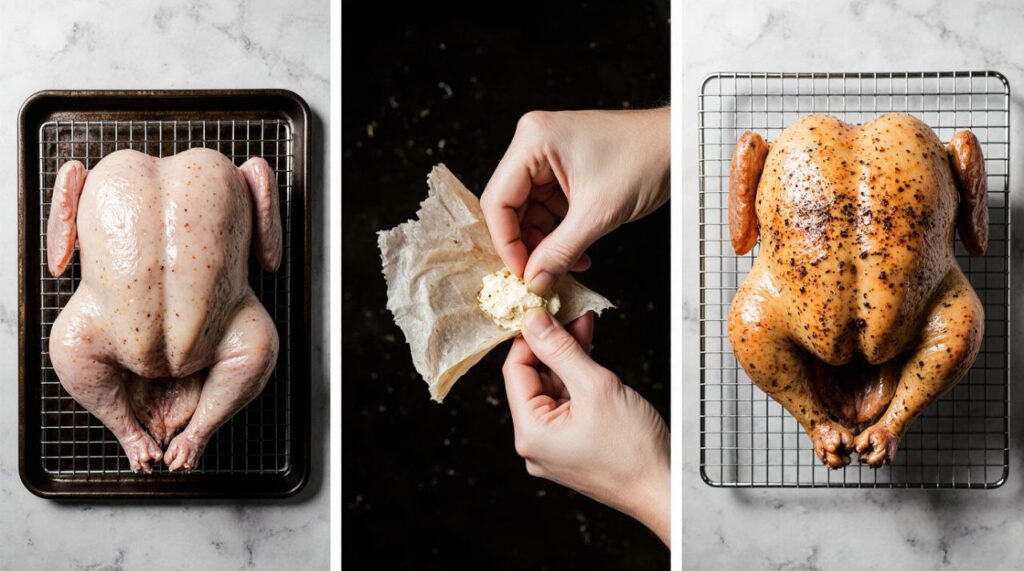
- Pat it relentlessly dry, inside and out, with a mountain of paper towels.
- Place it on a wire rack set over a baking sheet and leave it, uncovered, in the refrigerator for at least 8 hours, or up to 24.
Why this works: The dry, circulating air of the fridge continues to wick moisture from the skin, desiccating the surface to a degree that is simply impossible to achieve with a quick pat-down. You are essentially creating a chicken “biltong” on the outside while the inside remains perfectly moist. This is the ultimate cheat code for crispy skin.
Gathering Your Tools and Ingredients
The Chicken:
- 1 whole chicken (3.5 – 4.5 lbs / 1.5 – 2 kg). A smaller bird cooks more evenly. Look for air-chilled chicken if possible, as it often contains less retained water.
The Flavor Arsenal:
- 3 tablespoons very soft, unsalted butter mixed with 1 minced garlic clove and 1 tablespoon of chopped fresh thyme (this is your compound butter).
- 1 large lemon, pierced 15-20 times with a fork or skewer.
- 1 whole head of garlic, sliced in half horizontally to expose the cloves.
- A generous handful of hardy herbs (thyme, rosemary, sage).
- Kosher salt and freshly cracked black pepper.
The Essential Equipment:
- A cast-iron skillet or heavy-bottomed roasting pan. Cast iron provides incredible, even heat that crisps the bottom of the bird beautifully.
- An instant-read thermometer. This is your truth-teller. Do not attempt this without one.
- Kitchen twine for trussing.
The Method: A Step-by-Step Guide to Perfection
Step 1: The Strategic Seasoning
Remove your beautifully air-dried chicken from the fridge. It should feel tacky and look matte. Season the entire cavity generously with salt and pepper. Stuff it with the pierced lemon, the halved garlic head, and the handful of herbs.
Why the pierced lemon? As the chicken roasts, the lemon steam will infuse the meat from the inside with a subtle brightness, while the holes prevent the lemon from bursting.
Step 2: The Butter Intervention
This is where the magic happens. Using your fingers, gently but deliberately separate the skin from the breast meat and the tops of the thighs. You are creating pockets. Now, take your garlic-thyme compound butter and spread it directly onto the meat, underneath the skin. Massage the skin from the outside to distribute the butter evenly.
Why under the skin? This technique bastes the breast meat directly and continuously as the butter melts, guaranteeing juiciness and flavor right where the meat is most prone to drying out.
Step 3: The External Gloss and Truss
Rub the outside of the chicken with a tiny bit of olive oil (this helps the salt stick and promotes even browning). Now, truss the bird by tying the legs together with kitchen twine and tucking the wingtips under the body.
Why truss? A compact shape ensures everything cooks at the same rate. Untrussed legs and wings will be overcooked and dry long before the thickest part of the breast is done.
Step 4: The Two-Stage Roast
Preheat your oven to a blazing 450°F (230°C). Place the chicken, breast-side up, in your cast-iron skillet.
- Stage 1 (High Heat): Roast at 450°F for 25 minutes. This initial blast of heat is what renders the fat and kick-starts the Maillard reaction on your perfectly dried skin, locking in the juices.
- Stage 2 (Gentle Finish): Without opening the door, reduce the oven temperature to 375°F (190°C). Continue roasting for another 30-45 minutes.
Step 5: The Thermo-Test of Truth
Start checking the internal temperature about 35 minutes into the second stage. Insert your instant-read thermometer into the thickest part of the thigh, avoiding the bone. You are looking for 165°F (74°C). The breast should read about 155-160°F (68-71°C).
Remember carryover cooking! The temperature will continue to rise 5-10 degrees after you pull it from the oven. Taking the breast out at 155°F allows it to coast to a perfect, juicy 165°F without overcooking.
Step 6: The Sacred Rest
This is non-negotiable. Transfer the chicken to a cutting board and let it rest for a full 20 minutes. Do not touch it. Do not carve it. Let it be.
The Science of Resting: The intense heat of the oven causes the chicken’s protein fibers to tighten and squeeze out its juices toward the center. Resting allows the fibers to relax, redistributing those juices throughout the entire bird. If you cut immediately, all that precious liquid will simply flood your cutting board.
Beyond the Basic: A Flavor Adventure
Once you’ve mastered this base recipe, the world is your oyster (or your chicken!).
- Spiced Umami Bomb: Replace the herb butter with a paste of white miso, gochujang, and a touch of sesame oil.
- Provençal Sunshine: Slather the butter with herbes de Provence and layer thin slices of lemon and onion under the skin.
- Smoky Paprika Rub: Mix smoked paprika, cumin, and a touch of brown sugar with your salt before seasoning.
Frequently Asked Questions
1. I don’t have 24 hours. Can I skip the fridge step?
While the overnight rest is transformative, you can achieve good results by patting the chicken extremely dry and letting it sit uncovered at room temperature for 60 minutes before roasting. The fridge method is superior, but this is a solid plan B.
2. Why is my chicken buttery and juicy but the skin isn’t super crispy?
The most likely culprit is that the skin wasn’t dry enough to begin with. Next time, be more relentless with the paper towels and commit to the fridge method. Also, ensure your oven is fully preheated before the chicken goes in.
3. Can I put vegetables in the pan?
Absolutely! The rendered chicken fat and juices make an incredible roasting medium. Add chunky carrots, potatoes, and onions to the skillet during the second roasting stage. They’ll caramelize in the drippings.
try Salsa Recipe
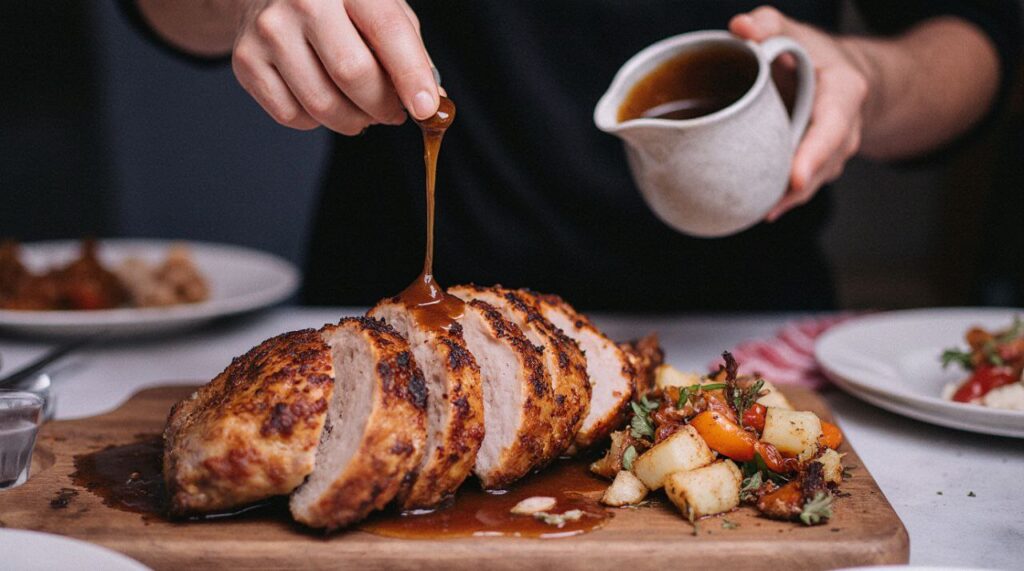
4. How do I make gravy from the pan drippings?
After removing the chicken, place the skillet over medium heat. Sprinkle in a few tablespoons of flour and whisk for one minute. Slowly pour in 1.5 cups of chicken stock, whisking constantly until the gravy thickens. Strain and season to taste.
5. What’s the best way to reheat leftovers without drying them out?
Gently reheat slices in a covered oven-proof dish with a splash of chicken broth at 325°F until just warm. The steam will rehydrate the meat.
The Final Carve
This method is more than a recipe; it’s a new way of thinking about a classic. It empowers you with the why, turning you from a follower of instructions into a master of technique. The result is a roast chicken that is not just food, but an experience—a stunning, delicious, and deeply satisfying creation that will fill your home with warmth and your table with joy.
So, will you give this method a try? I’d be thrilled to hear about your journey.
What was the biggest “aha!” moment for you? Did the overnight fridge trick work its magic? Share your triumphs (or even your funny kitchen disasters) in the comments below. Let’s celebrate the art of the perfect roast chicken together!